Thursday, September 27, 2012

Tastes Like Fall

Ok y'all, I feel a bit like a broken record... but this is another post about pumpkin bread. I tried making it one more time... and this time it turned out perfect! Here is the recipe I used. It's a lot like the last recipe, with a few additions, and no cream cheese layer.

Pumpkin Bread
1 1/2 cups of flour
1/2 teaspoon baking powder
1 teaspoon baking soda
1 teaspoon cinnamon
1 teaspoon allspice {or pumpkin pie spice}
1/2 teaspoon salt
1 15 ounce can of pumpkin
1 cup sugar
1/2 cup of firmly packed brown sugar
2 eggs
1 stick of butter, very soft
1 teaspoon vanilla

Preheat oven to 350 degrees. In a large bowl, combine dry ingredients. In a separate bowl, mix butter, sugar, brown sugar, eggs, pumpkin, and vanilla. Once the pumpkin mixture is mixed well, add the dry ingredients slowly. Continue mixing until all ingredients are combined. I decided to make 3 small loaves {since I had a hard time getting the large loaf to cook last week}. Grease your loaf pans. Fill pans evenly. Cook for 50-60 minutes or until toothpick comes out clean and bread is slightly brown on top.

This bread really did turn out so yummy! It is soft, sweet, a little spicy... perfect! Well maybe this will end my obsession with all things pumpkin... And I promise no more pumpkin bread posts {at least for a while ;)}

Wednesday, September 26, 2012

My First Sewing Project!

When Z and I got married, a sweet family friend gave me a sewing machine as a wedding gift. I was SO excited and could not wait to learn to sew... fast forward two years, and I still had not tried out my machine :/ So the other day, I decided to give it a go. I looked up youtube videos on setting up my machine... I read, re-read, and re-read again my machine guide... and I slowly got to sewing. It took most of a day just to figure out how to thread and install a bobbin {especially because I had no idea what a bobbin was, ha!} and how to thread the needle. Finally, after a few hours, my machine was ready for some sewin' ;) That first day I just worked on sewing straight lines trying to sew straight lines. I felt like I was getting the hang of it, and I was pretty excited to finally be using my sewing machine!!Well yesterday, I decided to try my first sewing project... I had a solid white tea towel and some scrap fabric, so I thought I'd cutesy that towel up! I found a tutorial on how to make a ruffle {which was a lot easier than I thought it would be!} and then got to work. Now, don't judge my stitching, ha! I'm still working on the whole straight stitch thing.... but from a distance I think my tea towel turned out super cute ;) {from a distance being the key words there!} So here it is... my very first sewing project!!

I started to add a close up of the ruffle and then thought better of it... like I said, still working on making straight stitches! The hardest part by far was sewing the ruffle on... maybe I'll find a better tutorial for that part. But overall I feel like this project was a success... and now I'm excited to try a few more soon!


Tuesday, September 25, 2012

Menu Planning Monday on a Tuesday ;)


Well I just didn't get around to posting yesterday... so today will be menu planning Monday Tuesday!

Monday- we had chicken quesadillas, Mexican rice and beans
Tuesday- chicken, tomato, and basil pasta with salad and bread
Wednesday- grilled chicken sliders with roasted potatoes
Thursday- baked chicken, yellow rice, roasted veggies
Friday- I'm sure we'll eat out somewhere ;)
Saturday- football snacks! {last Saturday I made beef and bean dip, turkey sliders, and bacon cheese fries.. so yummy but not so great for the waistline ;) maybe I'll lighten it up a bit this weekend!}

*There was a sale on boneless, skinless chicken... hence all of the chicken recipes! ha!
*I'm also planning to make another loaf of pumpkin bread... here's hoping it turns out yummier than last week!
*Also been wanting to make homemade rice krispy treats! {Wow I'm going to have to run a lot this week!}

Friday, September 21, 2012

Pumpkin Bread... Part 2

Well I have to be completely honest... my pumpkin bread was not all I thought it would be :/ It was good- just not amazing. But, I think I know where I went wrong. So if you plan to try out the recipe... take note of these changes I will make next time... first, don't put the whole can of pumpkin ;) actually follow the recipe on this part. I know, I never would have thought pumpkin bread could be too pumpkiny, but it was. Second, Go ahead and add some pumpkin pie spice. The original recipe calls for this, but of course I didn't have any. So I thought I'd just leave it out. Mistake. It definitely is missing that spiciness that the cloves, nutmeg, ginger, etc. in pumpkin pie spice would have added. I think the recipe could use two teaspoons of pumpkin pie spice and one teaspoon of cinnamon. Third, don't omit the brown sugar. Again, I didn't have any so I just left it out. It needs that extra sugar and I think the brown sugar would be the perfect addition. And fourth, go ahead and mix a whole egg with the cream cheese. My cheese mixture has an odd texture. I think the egg yolk would make it creamier which=a good thing! So there you go... I think if you follow these tips, this really could be so yummy! I'm definitely going to try this recipe again.... and actually follow the recipe this time ;) And while I'm on the subject of yummy pumpkiness... take a look at these little yummies...                           

Pinned Image
Pumpkin Spice Donut Holes... Oh my!
Have a good weekend friends!

Thursday, September 20, 2012

Layered Pumpkin Bread

I finally got around to making some pumpkin bread! I decided to try a recipe that my mom gave me a while back for layered pumpkin bread. Um hello... pumpkin bread layered with cream cheese... yes please! I tweaked the recipe just a bit {had to make a few ingredient swaps} and got to cookin'... Don't worry, I'll share ;)
Here's all you'll need...

2 cups of flour... 1 cup of canned pumpkin {I went ahead and added the whole can ;)}... 1 cup plus 2 Tablespoons of sugar... 1/2 cup of brown sugar... 3 eggs... 2 1/2 teaspoons of baking powder... 1 teaspoons of cinnamon...2 teaspoons pumpkin pie spice... 1/4 teaspoon of salt... 1/4 cup of melted butter... 1 8 oz. package of Neufchatel cheese {or cream cheese}... okay it's kind of a lot of ingredients, but so worth it!
**Updated**
Step one...
Combine the pumpkin, butter, cup of sugar, brown sugar, 2 eggs, and milk in a large bowl
Step two...
Add the flour, baking powder, salt, and cinnamon. Stir until just moistened. Set aside.
Step three...
Cream the cheese, 2 tablespoons of sugar, and egg with a wire whisk.
Step four...
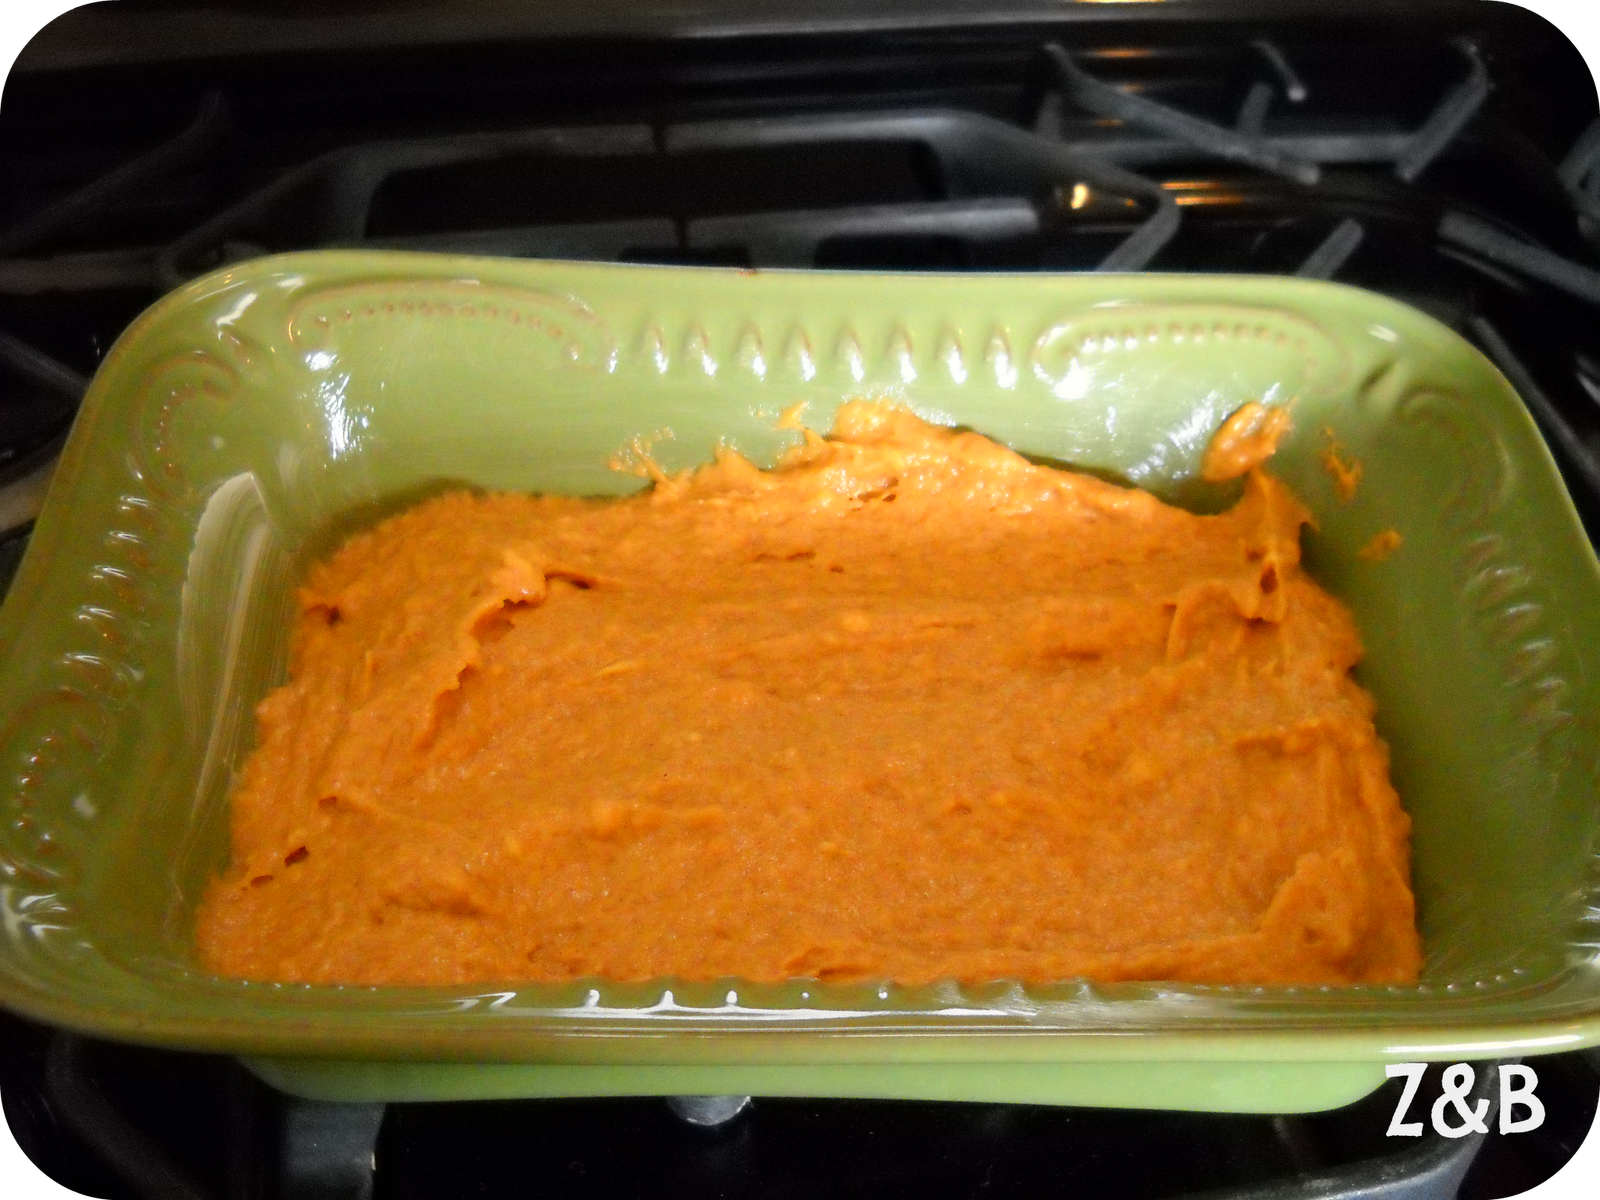
Pour half of the pumpkin mixture into a greased 9x5 loaf pan.
Step five...
Spread the cream cheese mixture over the pumpkin layer.
Step six...
Pour the other half of the pumpkin mixture on top of the cream cheese layer. Bake at 350 degrees for one hour. Check to be sure the loaf is done. {Mine needed a good bit more cooking time!}
Step seven...
Enjoy!!
This deliciousness is still cooling... but my house smells twelve kinds of amazing! I can't wait to cut into it and see the layers all cooked together to perfection ;) I'll have to let ya know tomorrow just how yummy it really is!


Wednesday, September 19, 2012

Happy Birthday Z!!!


To my best friend and my love- happy birthday!! I am so thankful for you- for how hard you work for us, for always making me laugh, for being the best husband I could ever ask for! Can't wait to grow old with you babe! 
I love you so much!!

Tuesday, September 18, 2012

The Icing on the {Cup}cake

Since tomorrow is a certain someone's birthday, I decided to bake up a birthday treat! Growing up, birthdays always meant one thing... homemade cake ;) So I was super excited to make my Z some homemade cupcakes. I may have cheated on the homemade part when it came to the actual cakes {ahem-I used a box-ahem} but I wanted to make the icing from scratch. I used my Nana's recipe for her famous, fluffy white icing... and let me tell ya', it did not disappoint ;) This icing is so delicious and a bit dangerous because it is so light and not too rich. {So I literally can eat ate it with a spoon!} My Nana always makes this icing for her yummy red velvet cake at Christmas... it is definitely the perfect combination! But when my Mom was growing up, my Nana would always make her a chocolate birthday cake with this fluffy white icing. So I copy-catted for my Z and made chocolate cupcakes with the famous white icing. And now I'm going to share this delicious recipe with you!! It's pretty easy and always SO yummy!
Here is all you need for the icing... 1 cup of sugar, 1 cup of softened butter, 4 tablespoons of flour, 1 cup of milk, and 2 teaspoons of vanilla. I forgot to show both sticks of butter {yes, it calls for two- eek!}
Step one... cook the flour and milk over med-high heat until it thickens and begins to form a ball. Remove from heat and let cool completely. {This part is VERY important... one time I didn't let it cool and it was kinda disastrous}
Step two... cream the 2 sticks of softened butter with the sugar until well combined
Step three... add the *cooled* flour mixture one tablespoon at a time to the creamed butter and sugar. Continue mixing. Add the vanilla and beat until fluffy.
The icing should be light and fluffy. Check the consistency to be sure it is not gritty. Now you're ready for the cupcakes!
Don't skimp any... this stuff is too good! Thanks Nana for this yummy recipe!